Overview
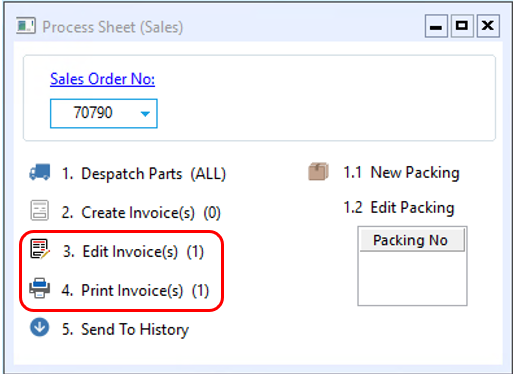
The Process Sheet (Sales) guides the USER through the process steps in an ordered sequence.
Click on the ORDERS tab on the ribbon and select the ‘Process Sheet (Sales)’ icon. Enter the sales order number or press <F2> and select the required order from the list and then press <TAB> to activate the window.
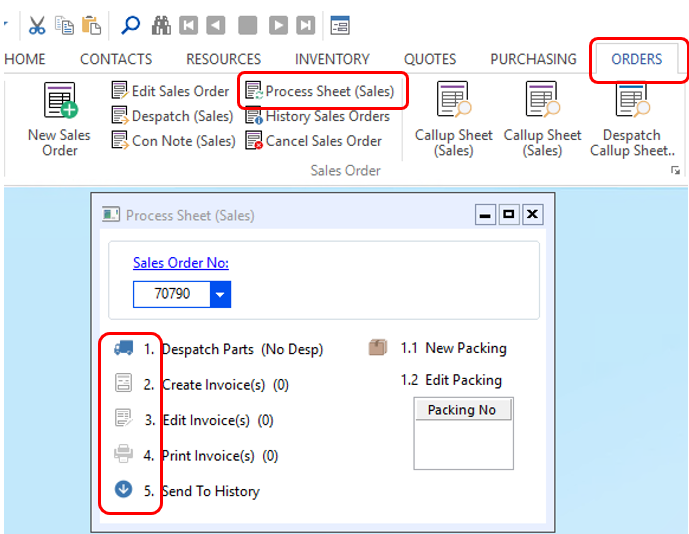
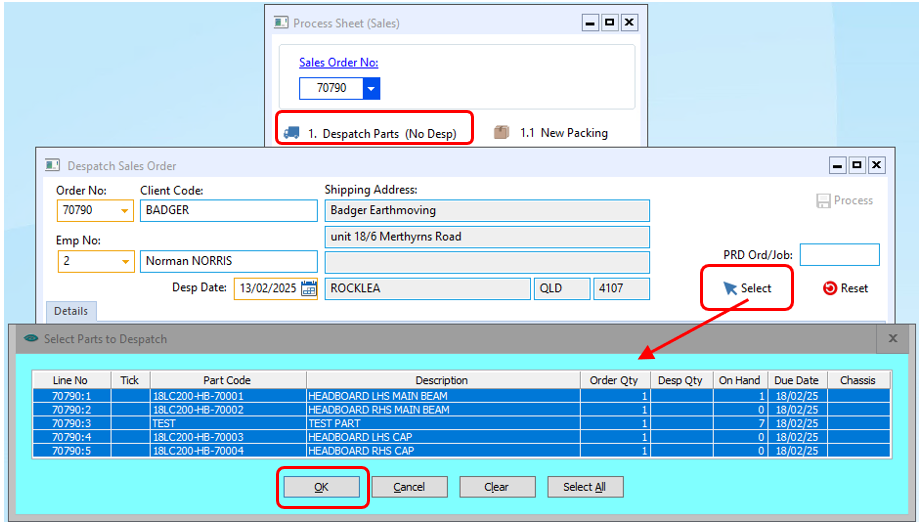
The 1. Despatch Parts icon is active – Click on the ‘1. Despatch Part’ icon, click on the Select icon and select items to be despatched then click OK.
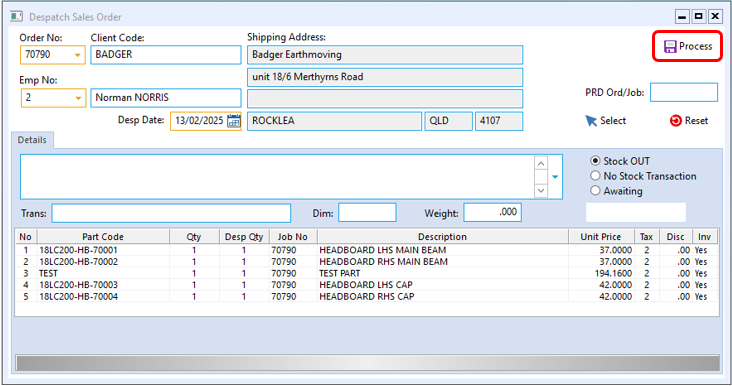
Click on the Process icon to complete the despatch.
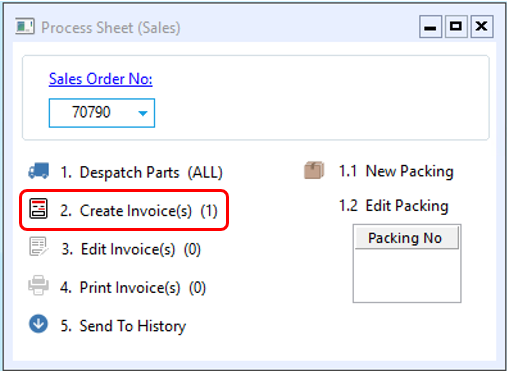
The 2. Create Invoice(s) icon is active and shows (1), this means there is 1 invoice to create. Also notice that the (No Desp) has now changed to (ALL). Click on the 2. Create Invoice(s) icon and create invoice as normal.
The USER will now notice that the 2. Create Invoice(s) icon is now greyed out and shows (0), this means there are no invoices to create. The ‘Edit Invoice(s) and Print Invoice(s) icons are now active and both show (1) meaning the invoice created can be edited or printed via these icons. The invoice can also be emailed via either of these functions.
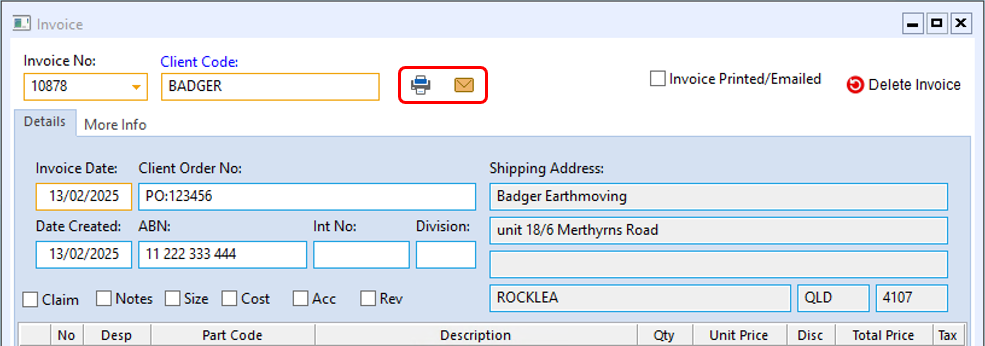
To email the invoice via the 3. Edit Invoice icon, click on the icon to open the invoice and click on the email button to generate the email. The invoice will be attached to an addressed email, click on send as normal.
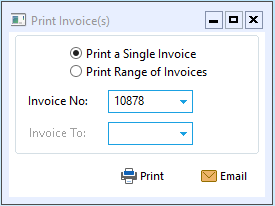
The 4. Print Invoice Icon when selected opens to an options pane – The USER can print or email the single invoice or a range of invoices by selecting 1 of the radio buttons and entering the invoice range if required and then click on the Print or email incon to display the preview window.
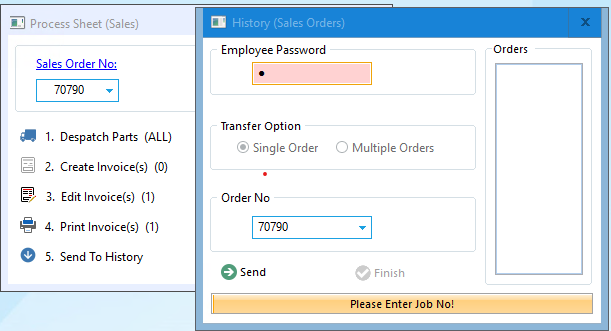
5. Send to History function is password protected, so the USER will need a special password. Enter the password and press <TAB> twice to active the window and click on Send and then click on Finish once the process is done.
Opto Software Pty Ltd
Revised: 14/02/25