Overview
There are options in Opto to Update certain data for Clients, Suppliers (Contacts 🡪 Utilities 🡪 Update Clients/Suppliers) or Material, Parts (Inventory 🡪 Utilities 🡪 Update Materials/Parts). This should be first way to go.
If the data that you want to Update is not within the options of those windows, you can export the data, modify the data and import the updated data. This documentation shows you how to do this step by step.
Important:
This documentation is updating clients but can be used for Clients, Suppliers, Parts and Materials. Parts and Materials import are in the inventory tab in Utilities.
Step 1: Export existing data
The existing data can be downloaded from the Opto application itself. In order to get the data go to the Utilities in the Contacts tab: 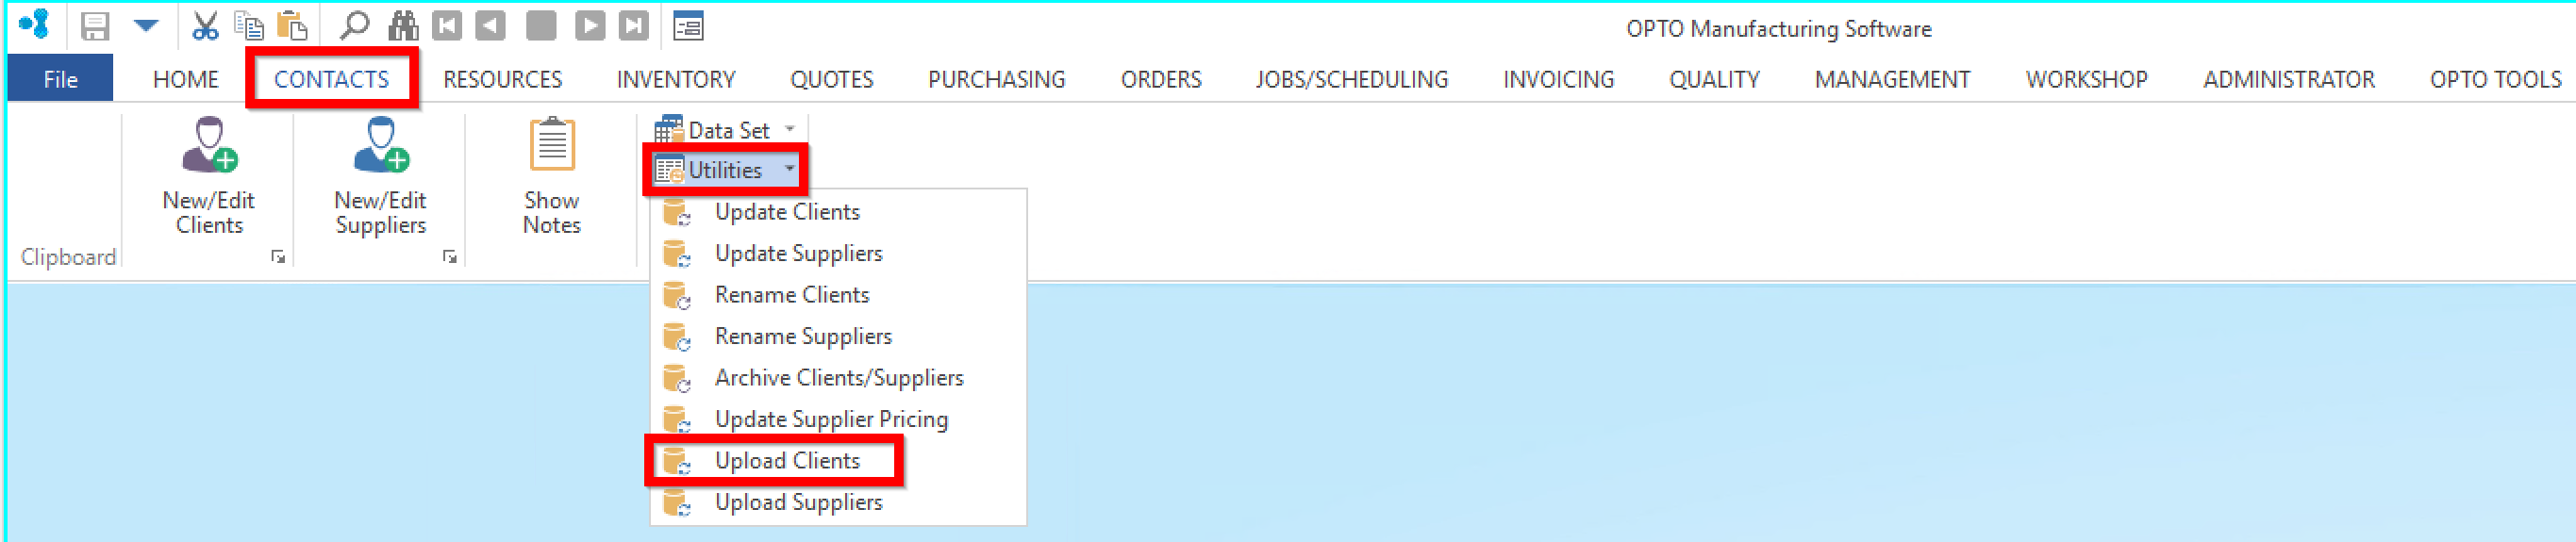
Click Download Template:
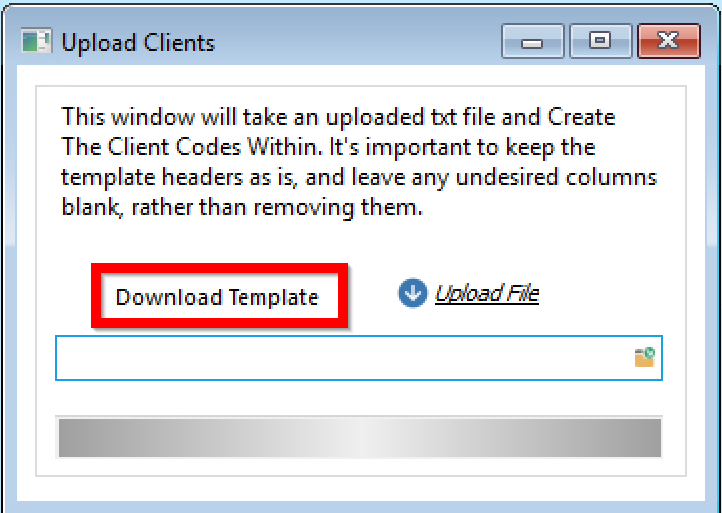
Click on All Clients to download the Template:
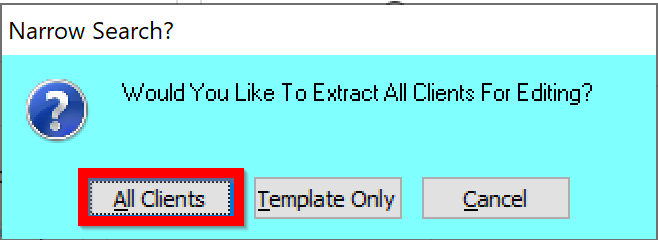
You will then be prompted with the following message:
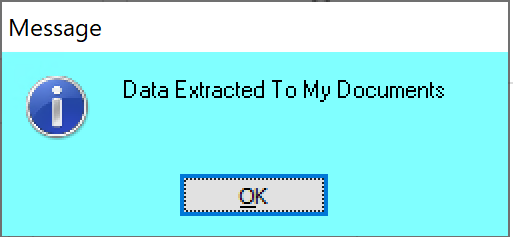
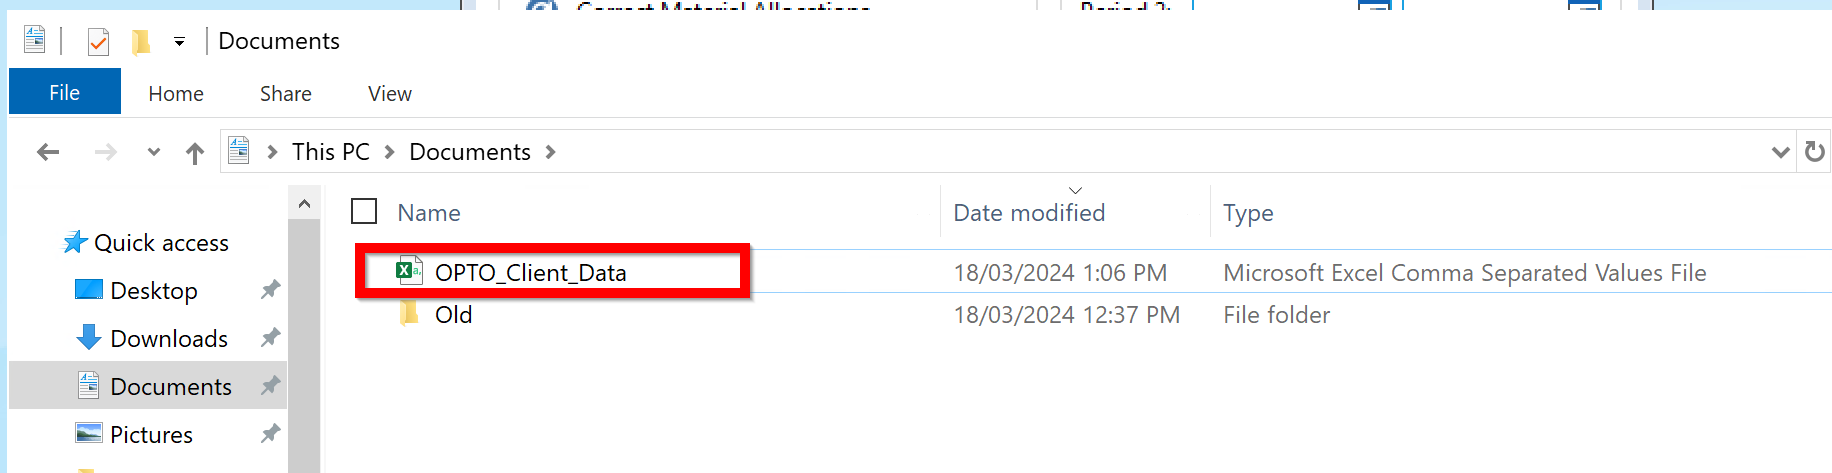
Go to My Documents on your local Computer and you will find a document called OPTO_Client_Data: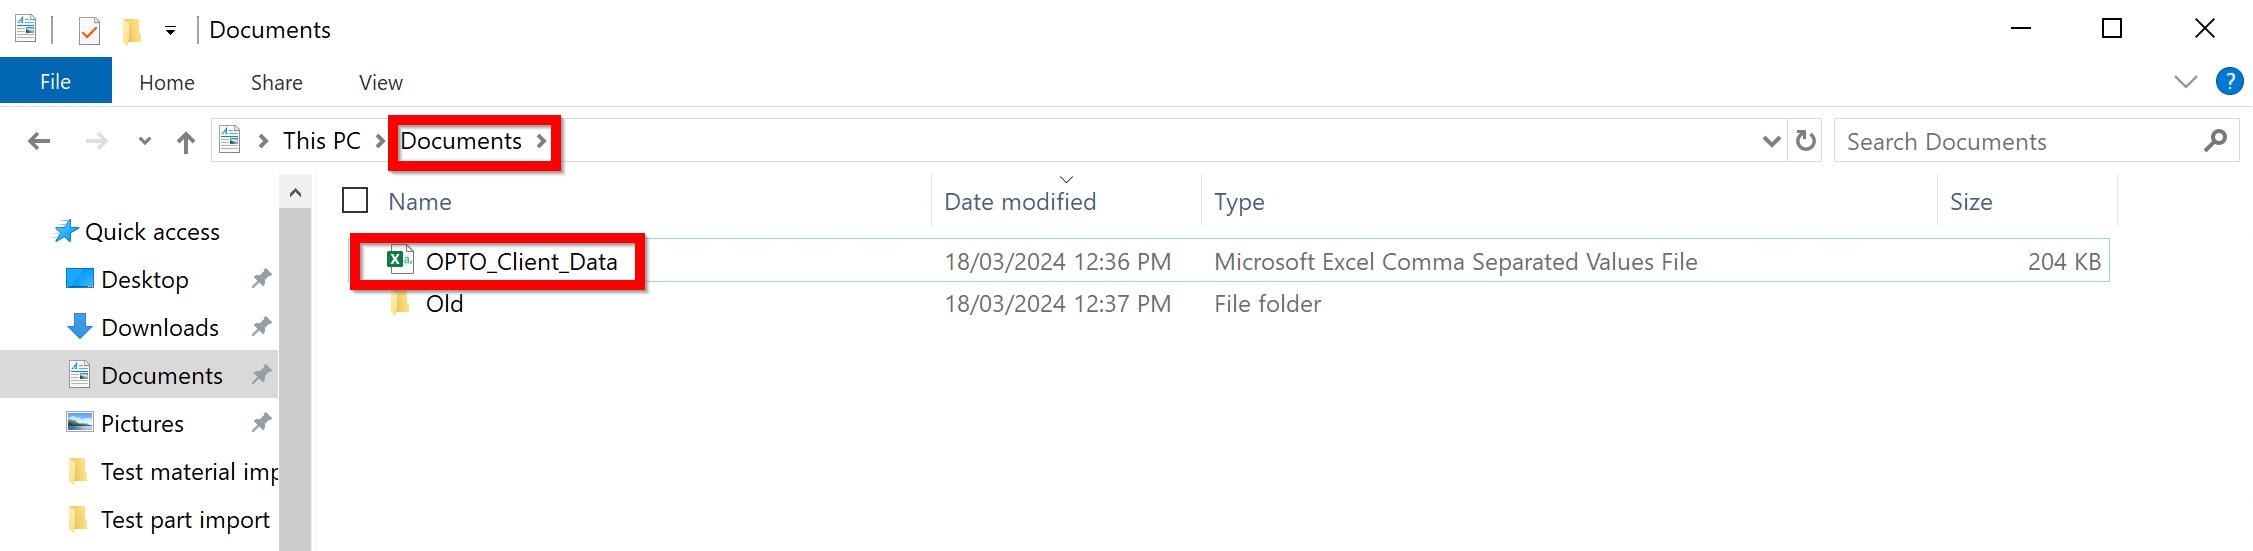
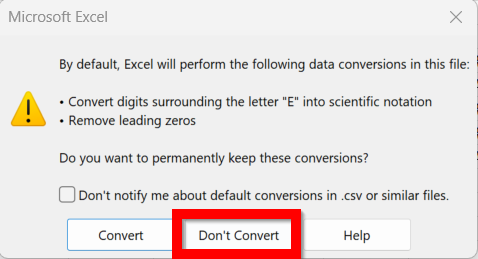
You may have to copy it to your local PC if there is no Excel installed on the server. Open the file and press Don’t Convert in the prompt:
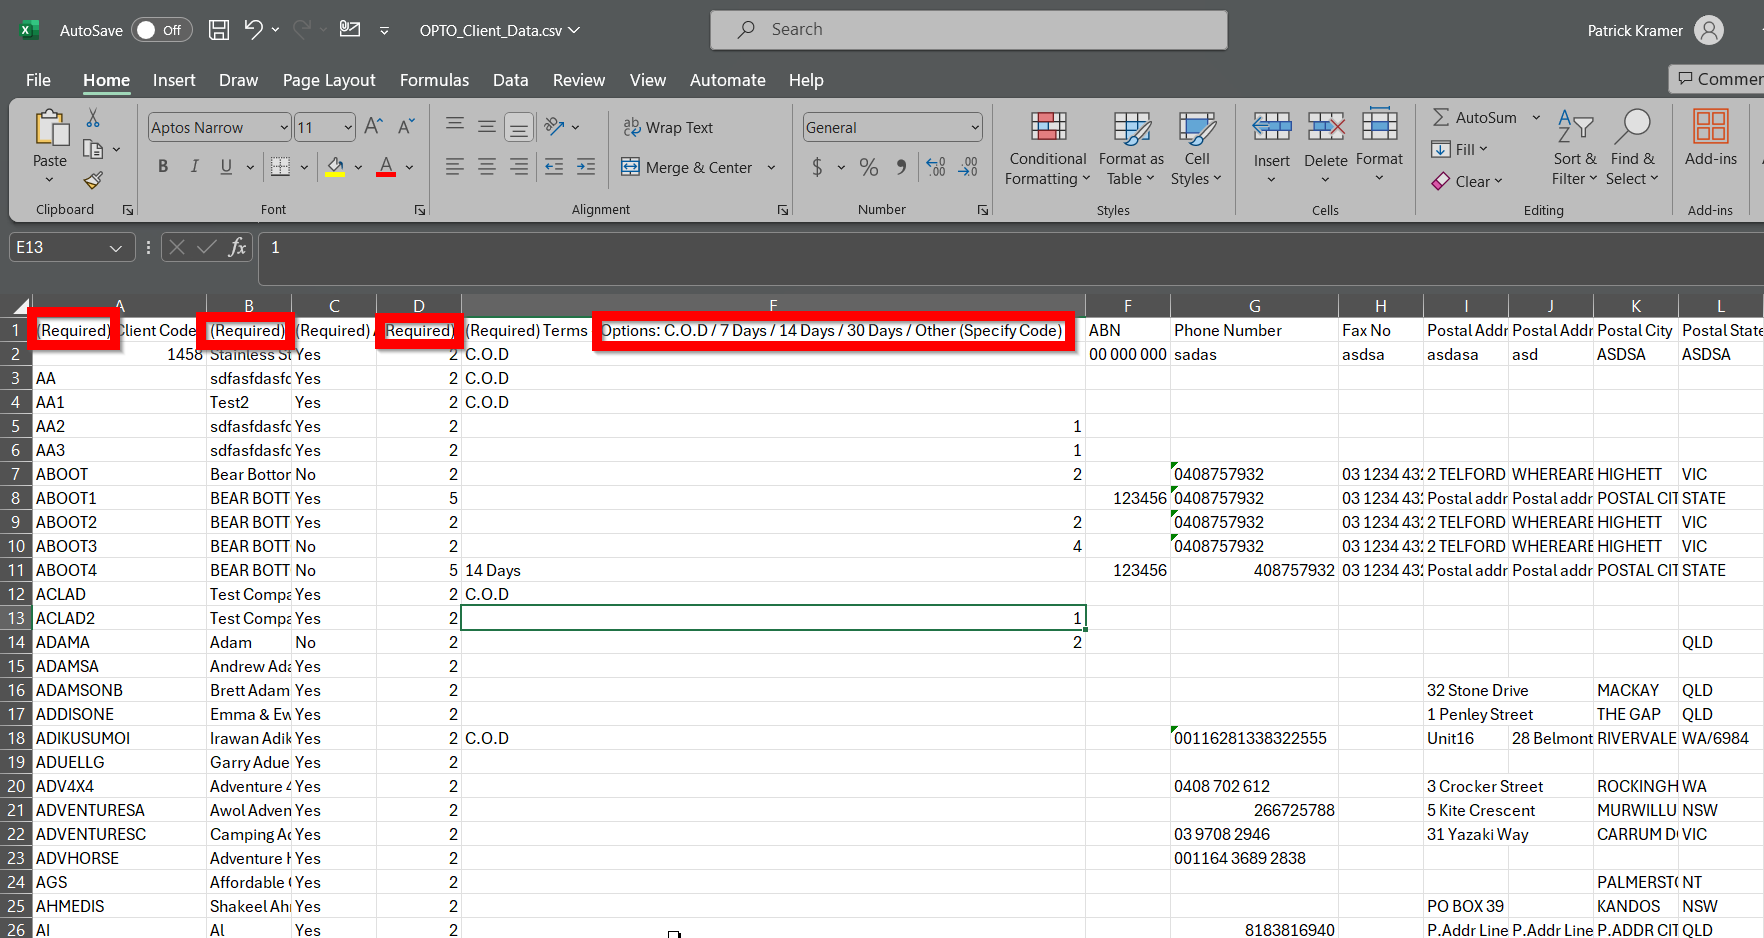
This will then present you with the data currently present in the system: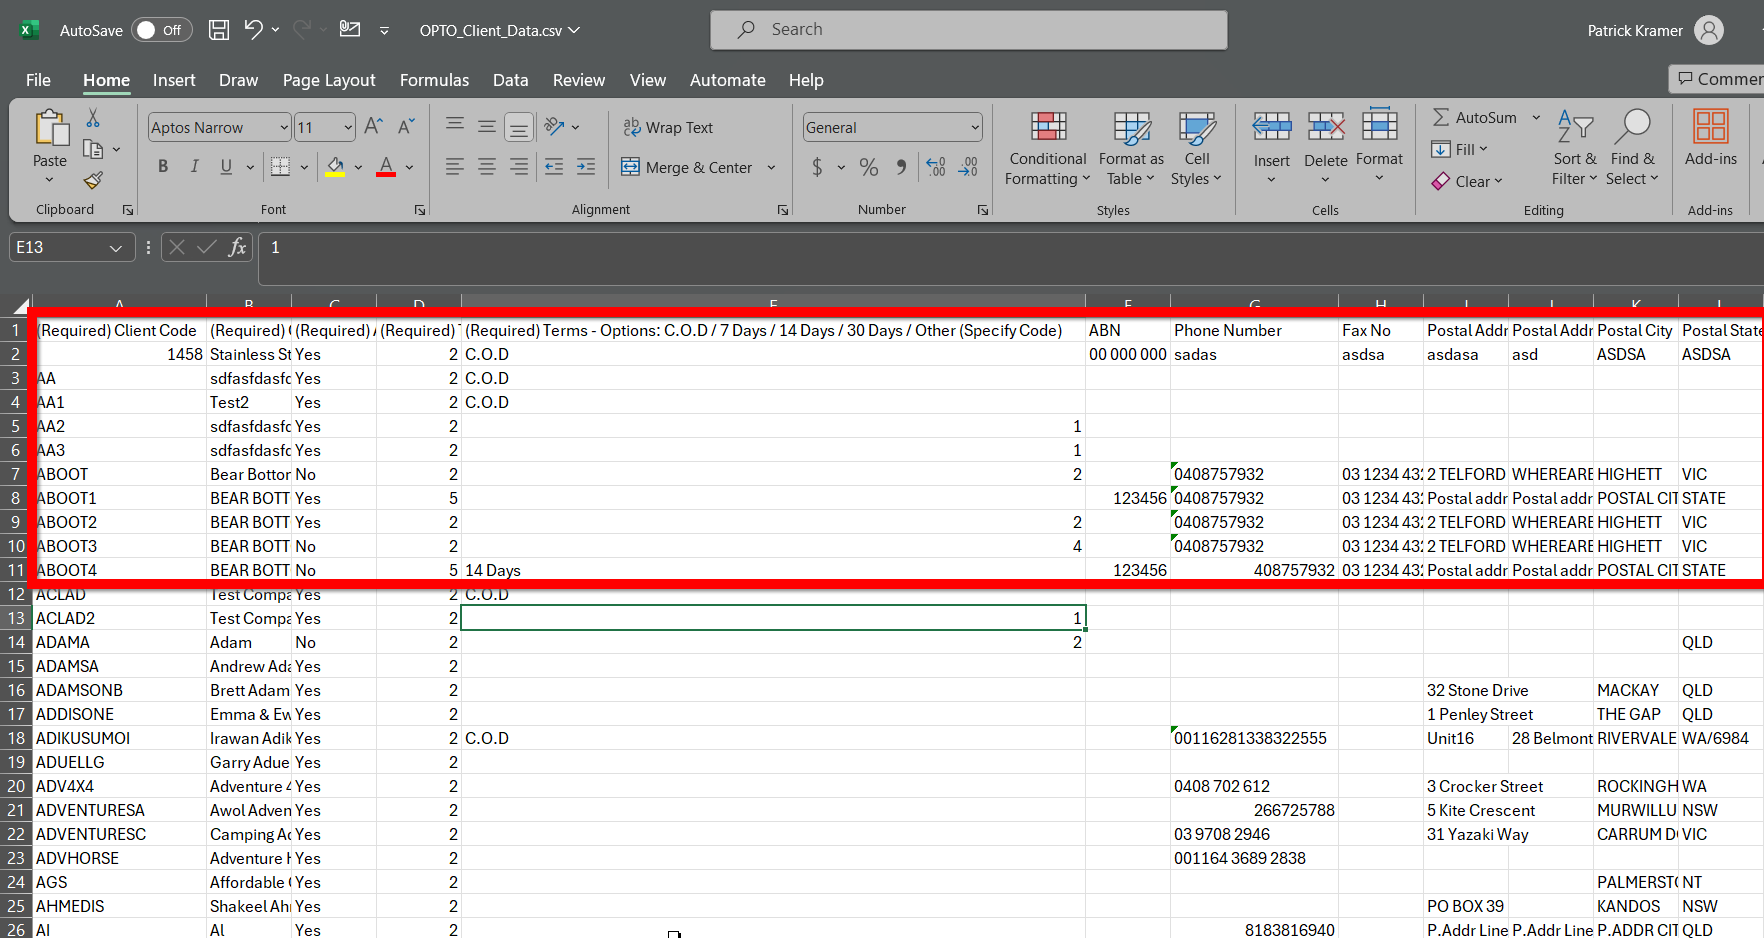
Step 2: Edit the Data
Edit the data as required but within the entry limitations of the column headings (otherwise the import will fail):
Step 3: Save the file and save it to the destination where you copied or accessed it from
When you finished editing the data, save the file with the updated data where you found the file. You can just overwrite the file in My Documents: 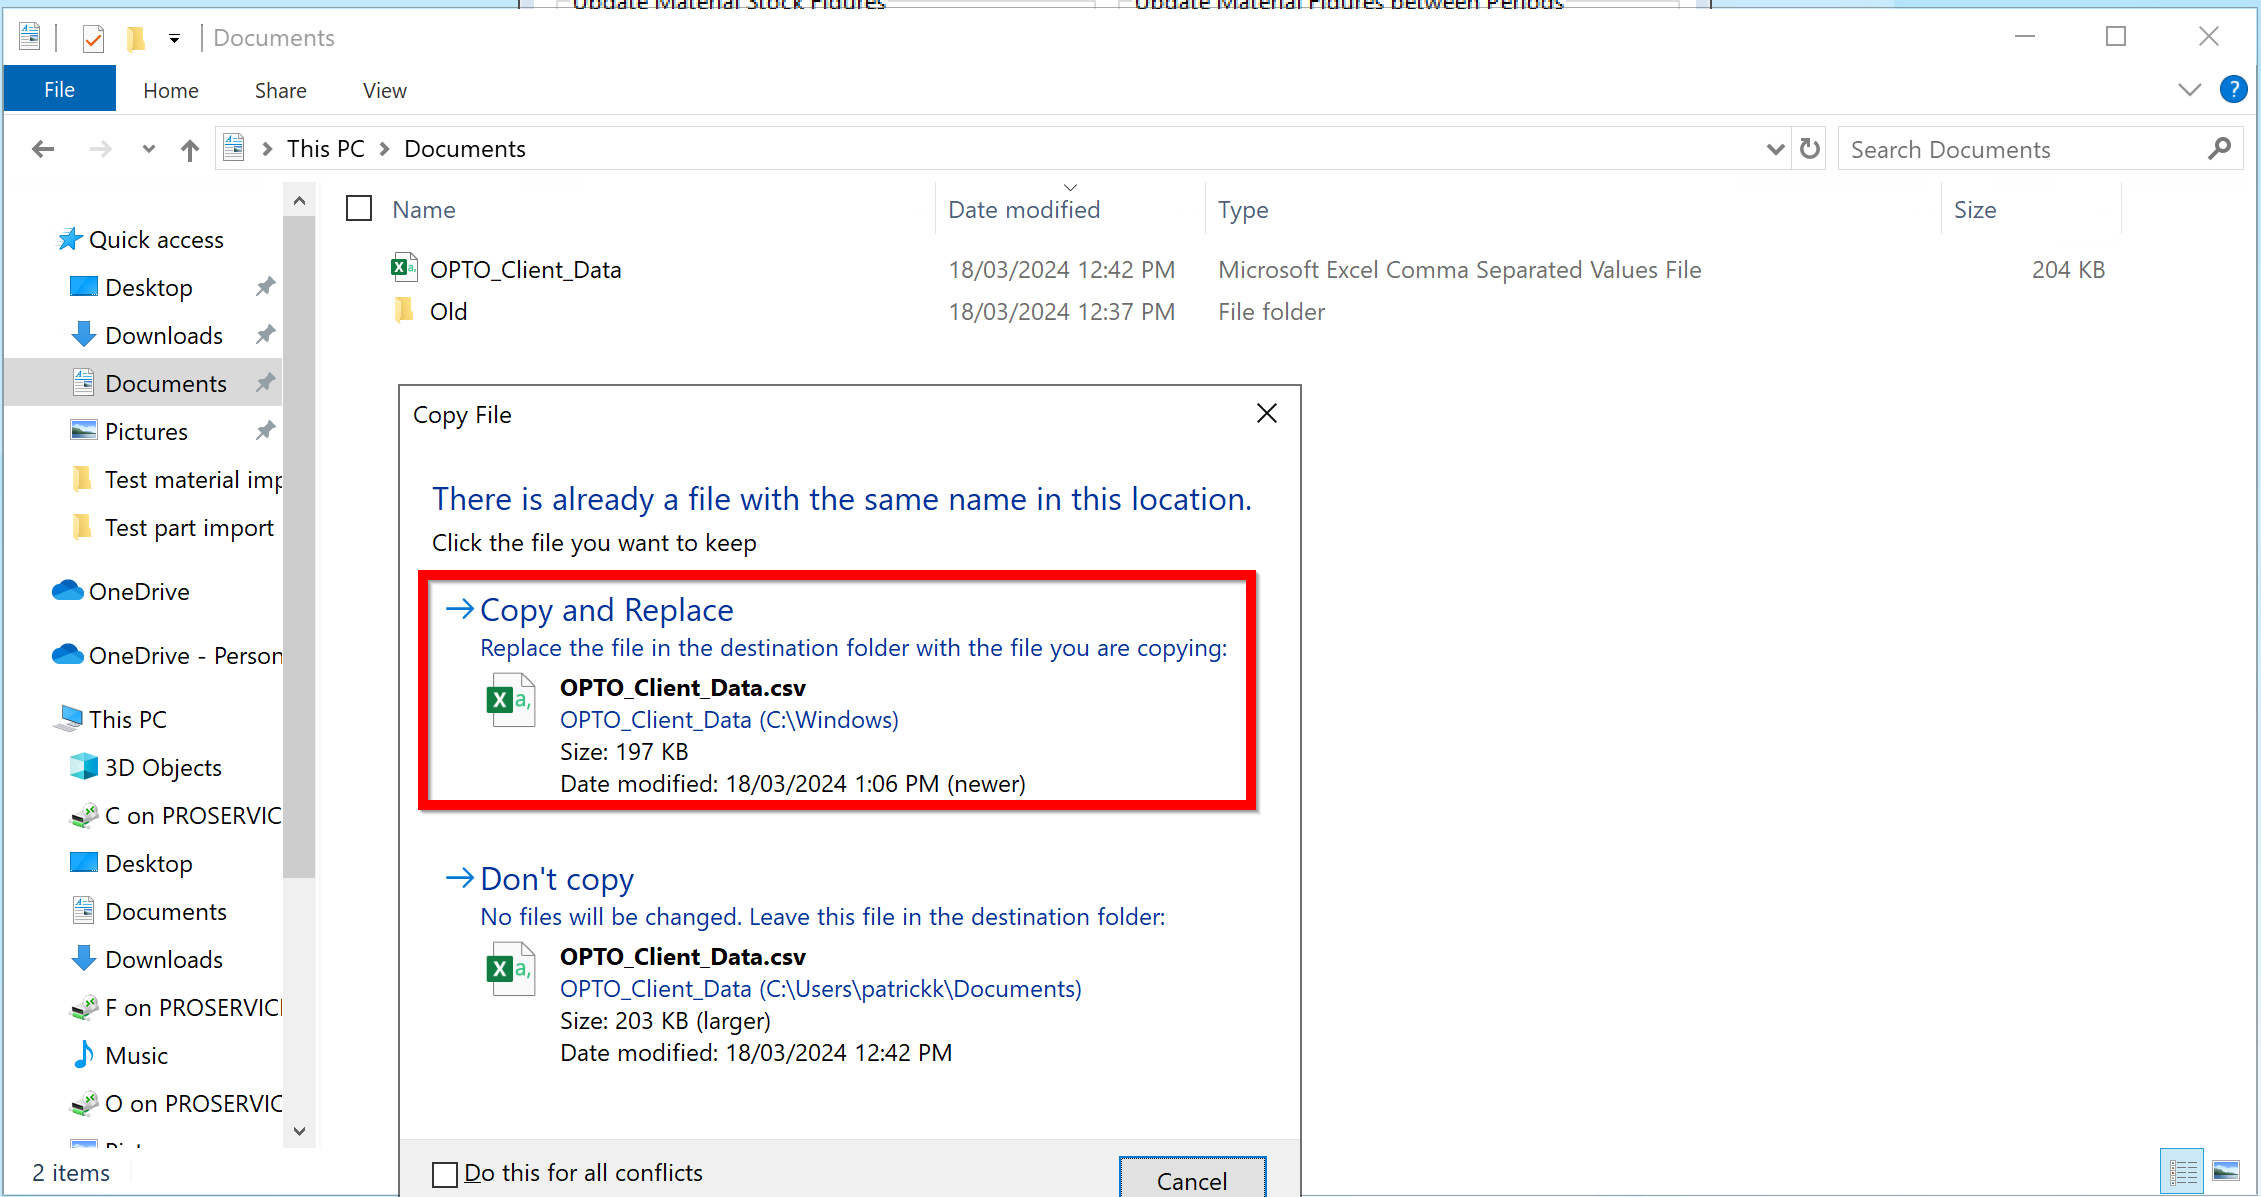
Step 4: Import the updated file
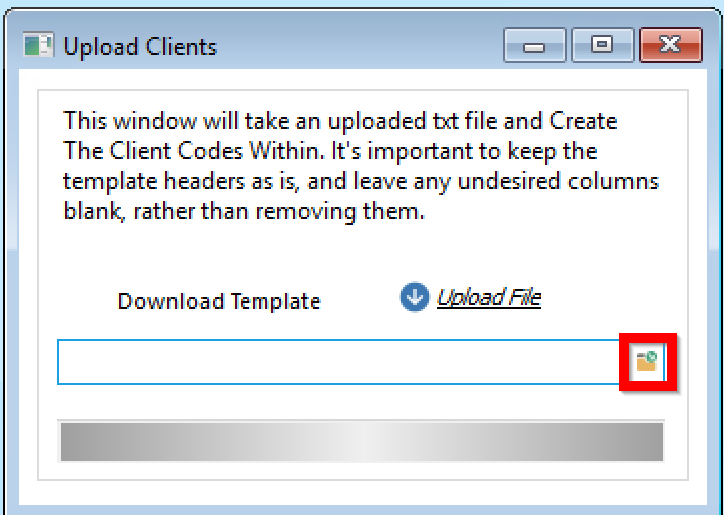
In order to import the filled in file go to the Utilities in the Contacts tab in Opto and select Upload Clients:

Select the destination of the file:
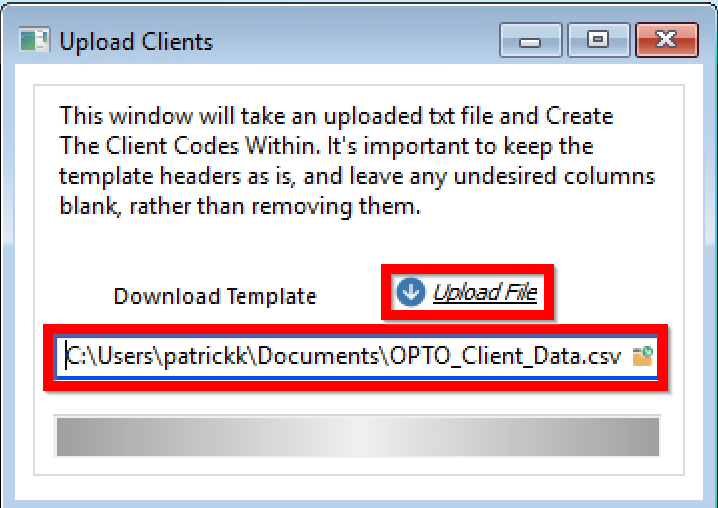
Double click the file you want to import and the path will be imported automatically:
Press Upload File to initiate the import:
Confirm the prompts:


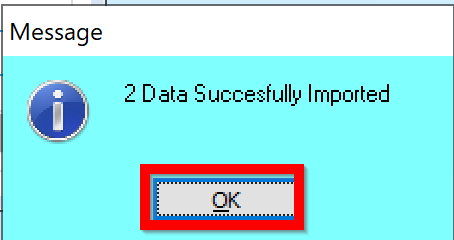
If the import was successful, you will get the following message
The updated client data will then be available in the usual menu: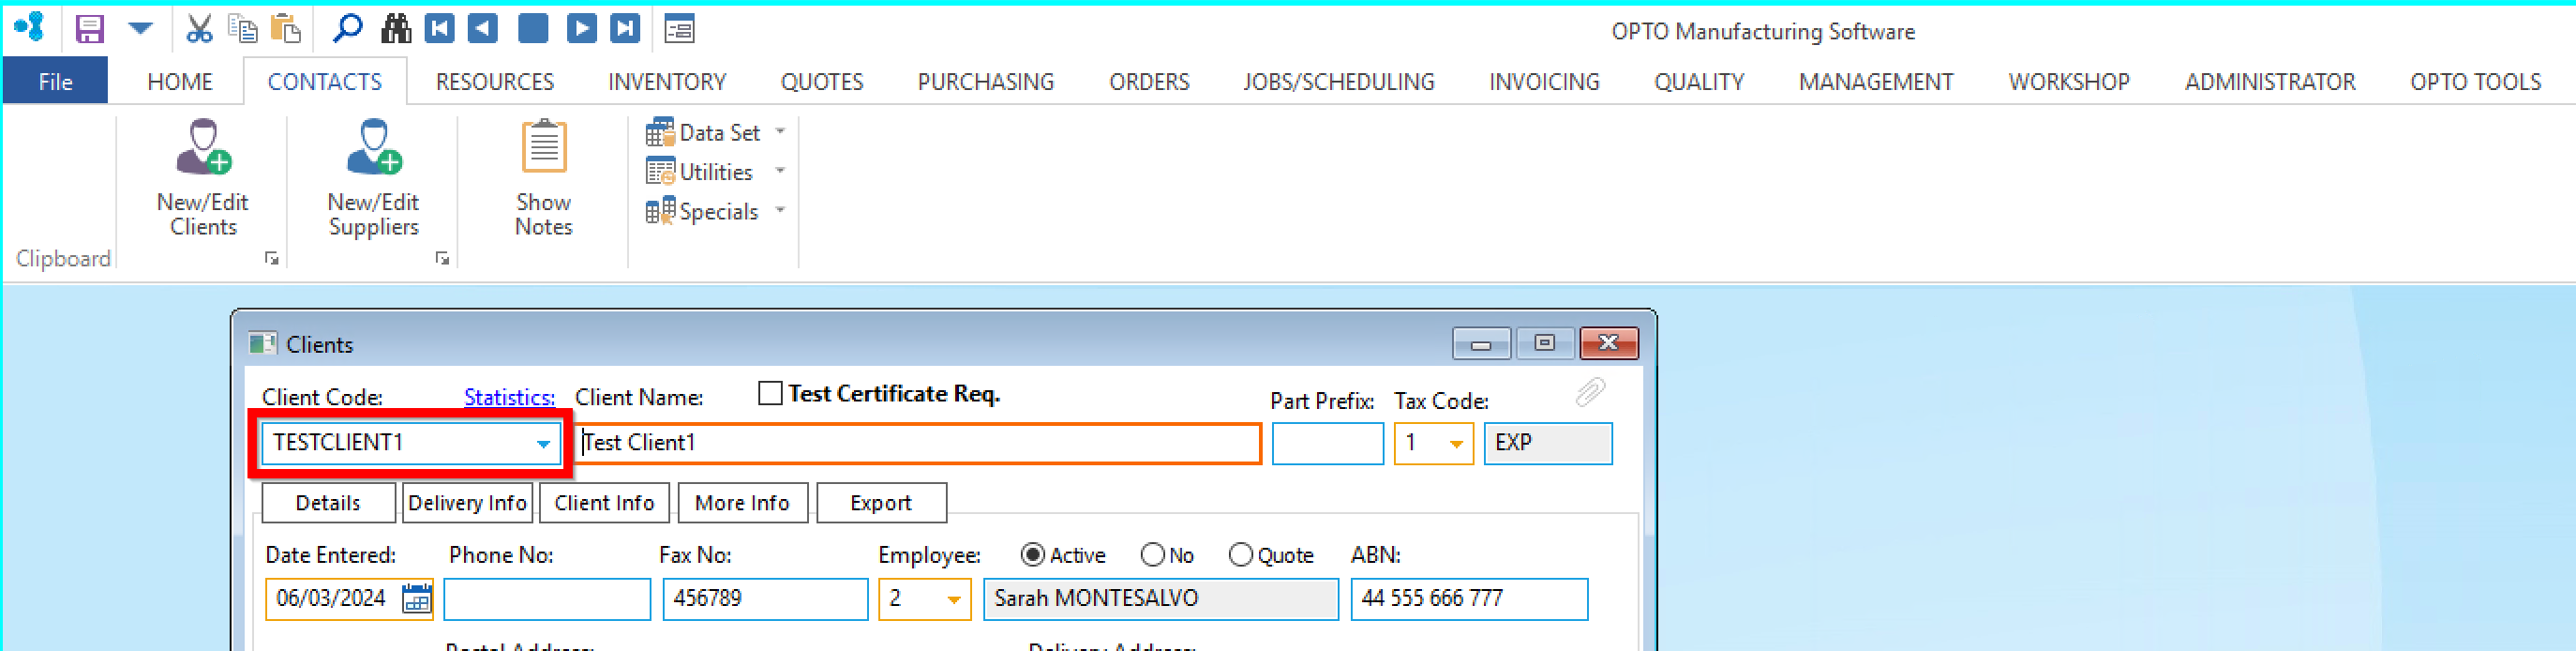
Step 5: Troubleshoot not imported data
If any data has been entered incompatibly with the import, you get the following message:
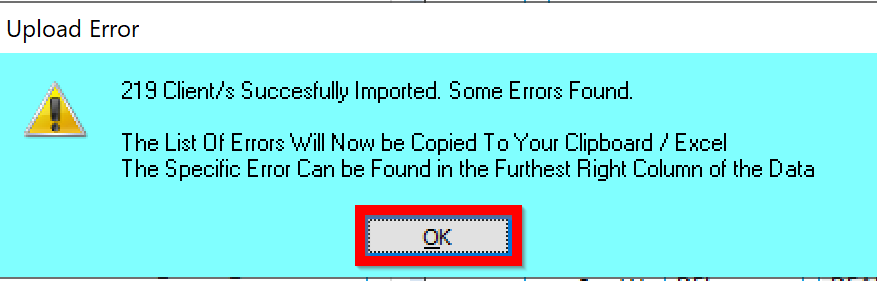
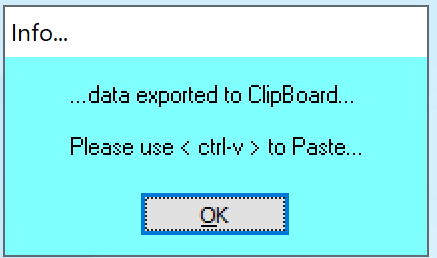
Open a new Excel file and press CTRL+V to paste or right click in the first cell (A1) and paste: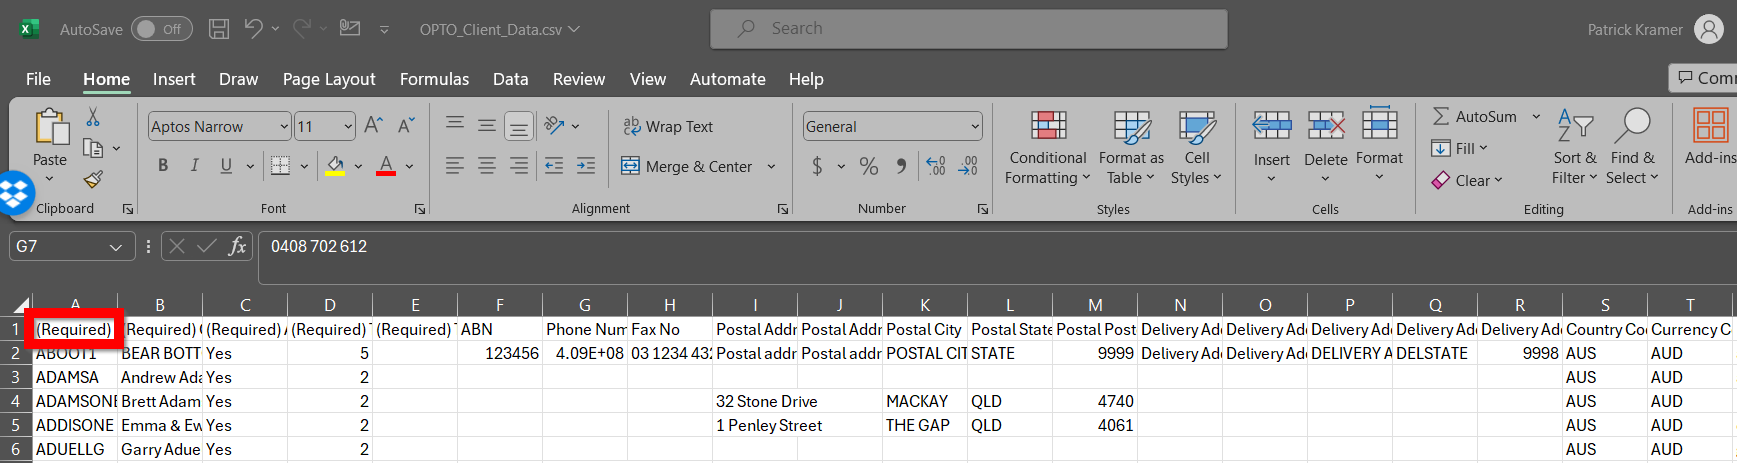
Then scroll all the way to the right of the file and you will find the error message that needs to be fixed before it can be imported. In this case, there was a space in the Client Code which is not allowed:
When the errors have been fixed, the file can saved as CSV and imported as above.
Opto Software Pty Ltd
Created: 18/03/2024