Overview
The Supplier window contains all the data that has been entered into the OPTO system in relation to the Supplier. Please use the <TAB> or <Enter> key to advance through the fields when creating new records in OPTO.
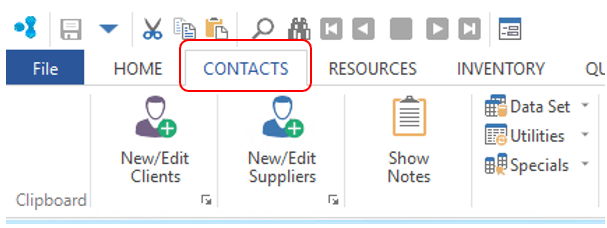
To access the ‘Supplier’s’ window, click on the CONTACTS tab on the OPTO Ribbon. Click on the ‘New/Edit Suppliers’ icon.
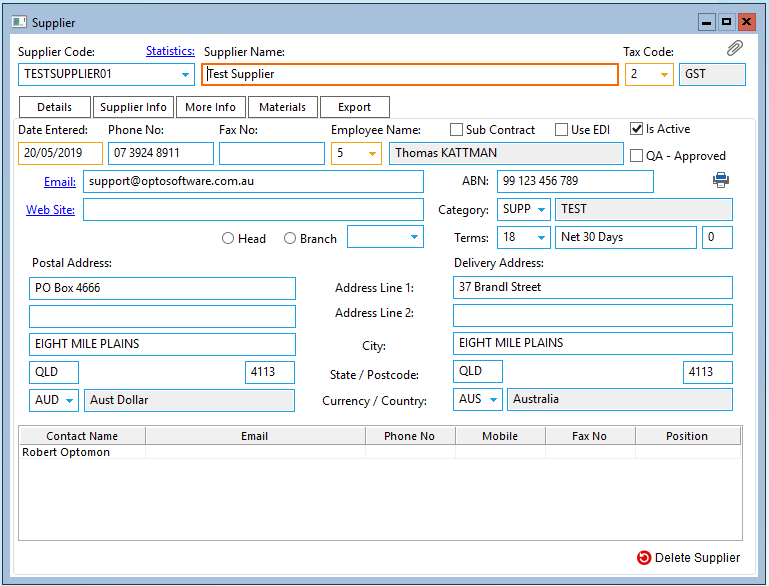
Enter the new “Supplier Code” code and press <TAB> to advance to “Supplier’s Name” field, type in the name of the new supplier. Press <TAB> to generate the Tax Code field, change if necessary by clicking on the drop-down arrow. <TAB> through the information boxes to generate the date entered, then enter the supplier’s phone and fax number and A.B.N. The “Employee Name” field is the employee entering the supplier’s information. Select the Terms for the supplier by clicking on the drop-down arrow. Enter the supplier’s email address and web site information and continue to enter the supplier’s details. Enter the Supplier’s Postal and Delivery Address and any supplier contact details. Ensure to click on the ‘Active’ box to make the new supplier active. The ‘QA – Approved’ tick box is for the purpose of internal quality assurance approval. If the supplier’s product and service was to the company’s level of standard, then the box would be ticked.
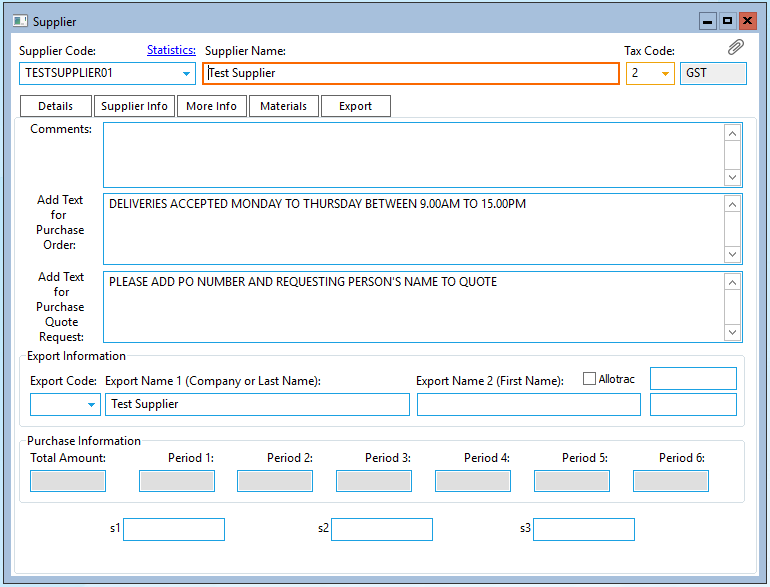
The “Supplier Info” tab – enables the user to record text to be displayed on purchase orders and purchase quotes for the supplier.
The Supplier’s ‘Export Name’ is automatically generated when the supplier’s name field is completed on the Details tab, this export name must be the same as your accounting system. Ensure that there are no extra spaces before, in or after the supplier’s name as this will cause errors when exporting data.
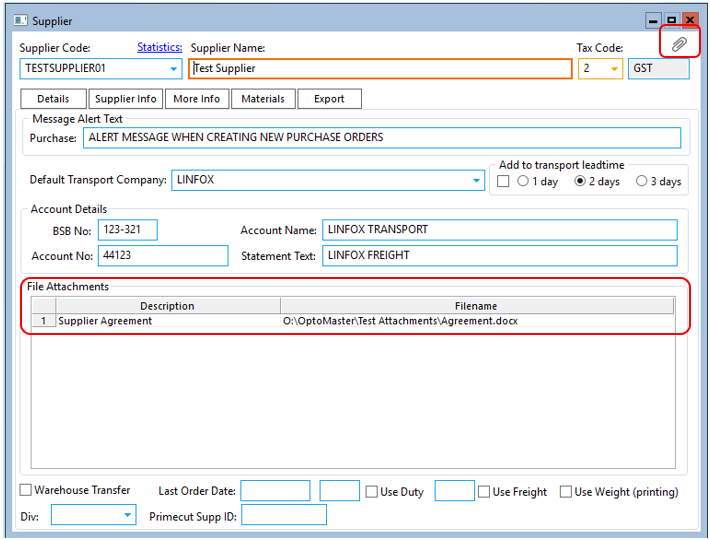
The “More Info” tab – The “Message Alert Text” field creates a pop-up message that will appear displaying the text entered here, whenever a Purchase Order is created for the supplier. The user can also select a “Default Transport Company” and add lead-time to transport. The supplier’s bank account details are also entered on this tab. The “File Attachments” area enables the user to attach files in relation to the supplier for quick viewing.
To attach a file on the More Info tab – click on the first line in the “Description” table and type in a description for the file or document, press <TAB> to move to the “Filename” area. Dbl-click on the field to browse your computer system for the required file. Click on the file to highlight and then click on Open.
To view the attached file, and click on the paper clip icon in the top right of the supplier window.
Opto Software Pty Ltd
Revised: 08/11/24