Overview:
The ‘Position Wizard ‘allows users to allocate, change, or terminate an employee’s position within the company. The positions must be set-up prior to using the Position Wizard – please see Enter/Edit Employee Positions.
To Allocate a Position to Employee
To allocate a position to an employee, open the Resources Tab in the Opto ribbon and click on the ‘Position Wizard’ option to open the window.

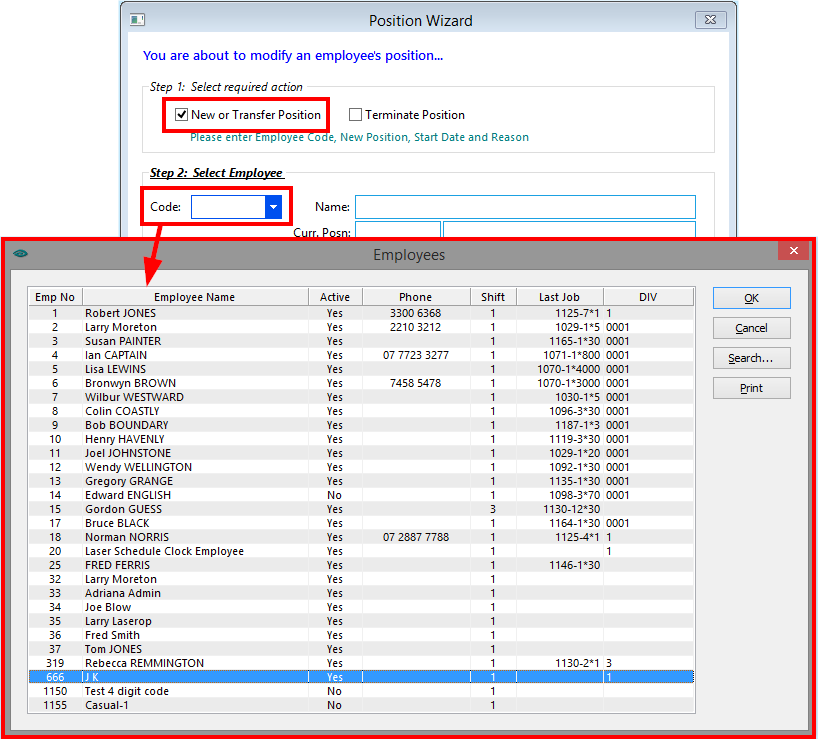
Click in the ‘Emp Code’ and press <F2> and select employee from pop-up menu. Click on selected employee then click OK and press <TAB> to generate the window. Click on the radio button option – “New or Transfer Position”, click on Next.
Click in the “New Position” press <F2> and select an available position from pop-up menu and click OK. (Only active and available positions will be displayed in the pop-up list). Press <TAB> to generate the window and click in “Start Date” field and enter date. Press <TAB> to move to the “Reason” field, press <F2> and select from the pop-up list and click OK. The “End Date” field is optional and might be used for a contract position.
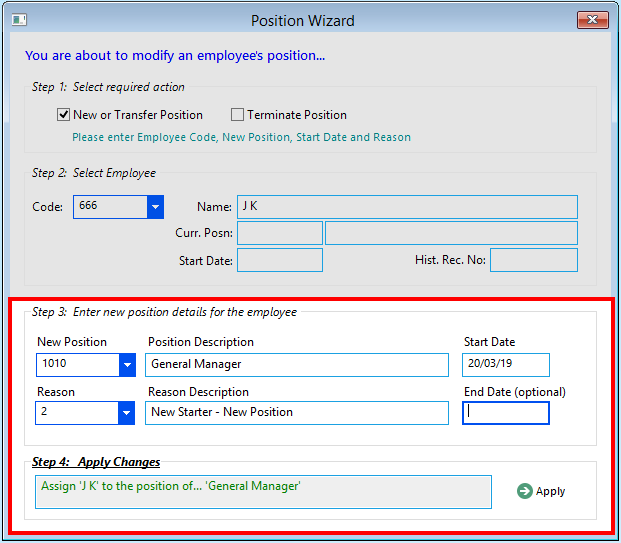
Press <TAB> to display this field and click on the Next button. In the completion window – click on the Apply button.
To Change a current Employee Position
As per previous instructions, Click in the ‘Emp Code’ and press <F2> and select an employee from pop-up menu. Click OK and press <TAB> to generate the window. Click radio button option – “New or Transfer Position” and then click on Next.
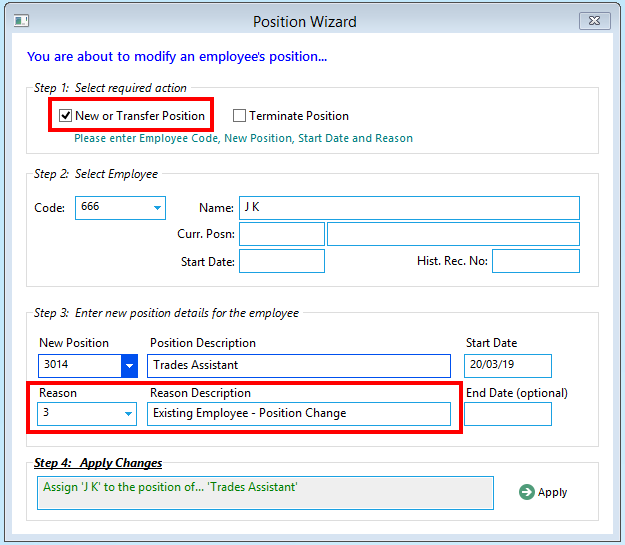
Click in the “New Position Code” press <F2> and select position from pop-up list and click OK. Press <TAB> to move to the “Start Date” field and enter the date. Click in “Start Reason” field, press<F2> select “Existing Employee – Position Change” and click OK, and then press <TAB> to display this field, click on Next button.
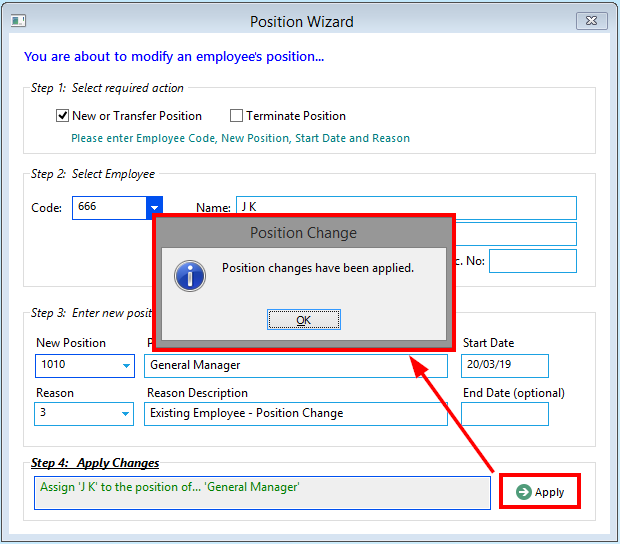
In the completion window, click on the Apply button.
To Terminate an Employee Position
To terminate an employee, click in the “Emp Code” and press <F2> to select the employee to be terminated from the pop-up list and click OK. Press <TAB> to generate the window. Click on the ‘Terminate Position’ radio button option.
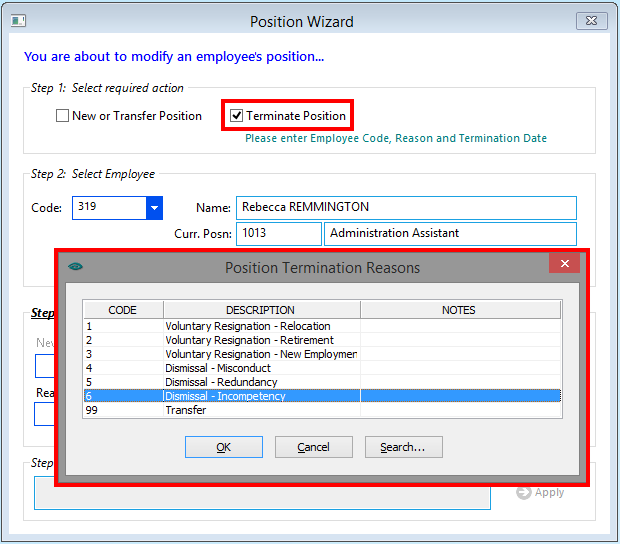
Press <F2> and select reason for the termination of the employee from pop-up list and click OK.
Press <TAB> to generate the field and enter the end date.
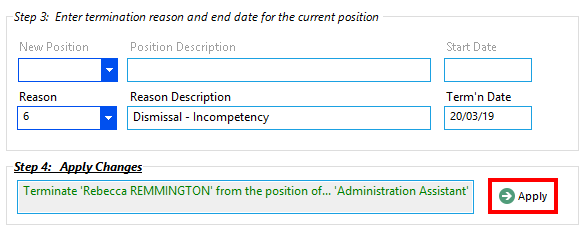
Click on the Apply button.
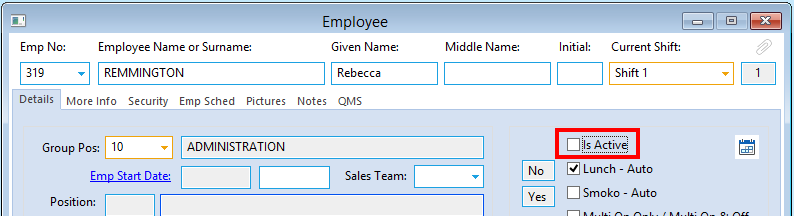
After terminating an employee- open the Resources tab in the Opto ribbon, and click on the Employees icon. In the ‘Emp No’ field, press <F2> to select the name of the employee you are terminating from the pop-up list and click OK. Press <TAB> to generate the employee’s information in the window.
Un-tick the “Active” box, and press <F9> to save.
Opto Software Pty Ltd
Revised 20/02/2019