Overview
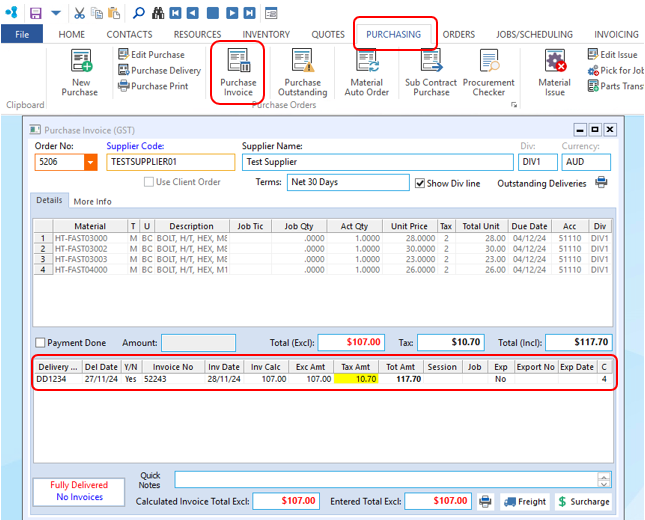
The Purchase Invoice window is used for entering the invoice information for purchased items after they have been received and then for exporting to your accounting system.
To Create a Purchase Invoice
From the OPTO ribbon, select the PURCHASING tab and click on the ‘Purchase Invoice’ icon. Enter the order number or press <F2> and select the order number from the pop-up list and then click OK. Press <TAB> to generate the purchase details. In the bottom table, click in the Y/N column and enter “Y” for the delivery to indicate the invoice is to be exported to your accounting system. Press <TAB> to move to the Invoice No field and enter the Supplier’s invoice number and the invoice date. Press <TAB> to the advance to the Exc Amt column and enter the invoice amount minus the GST amount. Press <TAB> and then press <F9> to save.
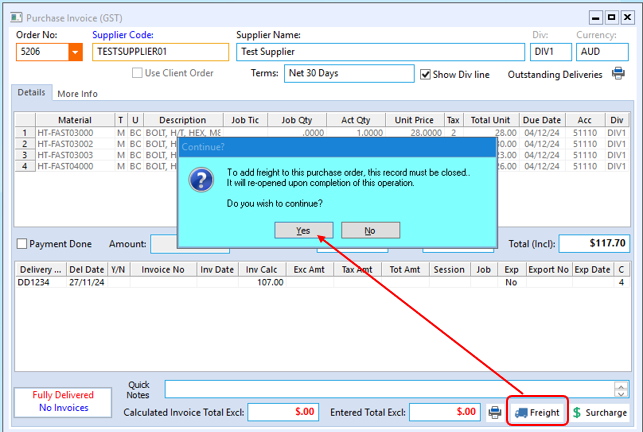
Add Freight to the delivery, this has to be done before the invoice details are entered. PLEASE NOTE: This needs to be setup in the Parameter – PURCHASE beforehand, contact the OPTO Support Team for assistance.
Open the Purchase Invoice window and enter the purchase order number, press the Freight button and click on Yes on the message.
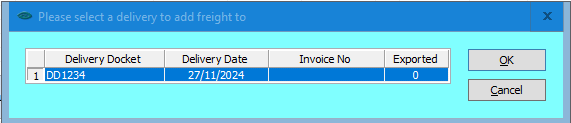
A pop-up window will appear, select the delivery in relation to the purchase invoice – Click on OK.
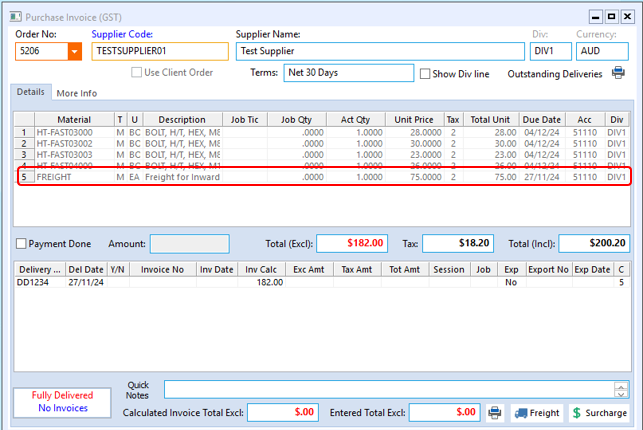
The “Please Enter Freight Amount” pane appears, enter the freight/delivery amount and then click OK.
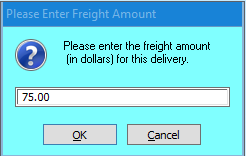
The freight amount is added to the invoice.
Opto Software Pty Ltd
Revised: 28/11/24