Job Tickets are usually created from the ‘Orders’ tab via the ‘Process Sheet’, but they can also be created from the ‘Jobs/Scheduling’ tab.
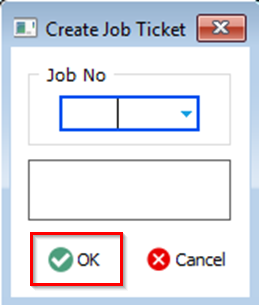
From the OPTO ribbon, select the ‘Jobs/Scheduling’ tab and click on the ‘Create Job Ticket’ icon. In the Job No field press <F2> and select an order from the pop-up list then click on OK.


A message appears to say the job ticket/s were successfully created, click on OK. The ‘Print Job Tickets’ window appears, click on ‘Print’ if required. If there are no production orders waiting for job ticket creation, when <F2> is used a message appears asking if the user is re-creating a job ticket. Please see Job Re-creation Process in this chapter.
Opto Software Pty Ltd
Revised 03/08/2018
