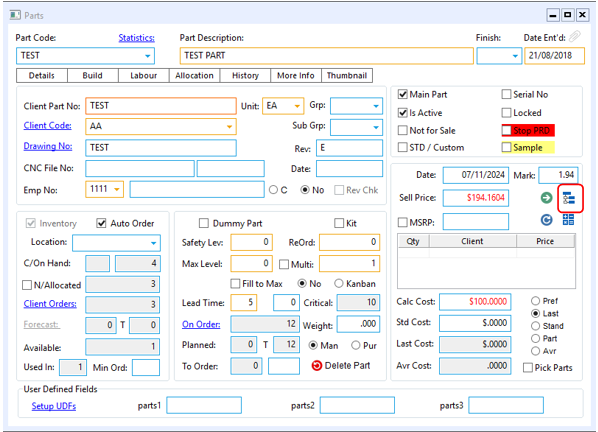
From the OPTO ribbon, select the INVENTORY tab then click the ‘New/Edit Parts’ icon. Click in the Part Code field and enter the part code or press <F2> and select from the list. Click on the drill down icon (circled below) to open the ‘Show Parts Detail’ window.
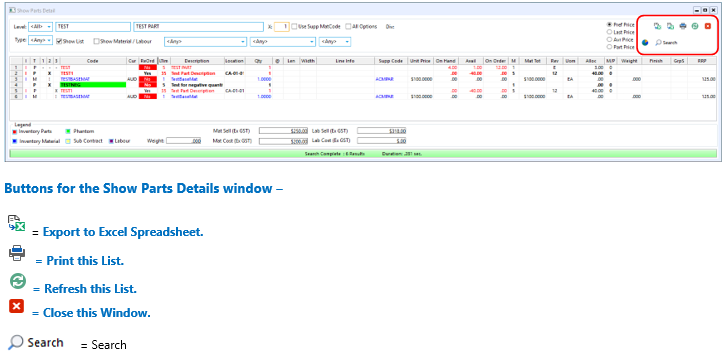
From the ‘Show Parts Details’ window the report can be printed or exported.
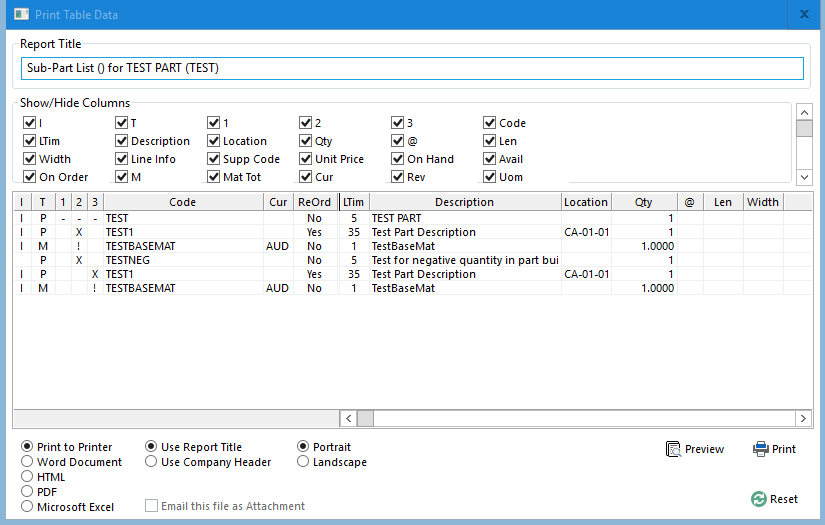
When the ‘Print’ button is selected the ‘Print Table Data’ window appears. The columns can be displayed or hidden by ticking or un-ticking the column option boxes. The columns of the report can be adjusted by moving your cursor over the columns and using the arrows that appear to adjust the width as required in the table. The user can change the page layout and/or export format by clicking preview and ticking or un-ticking the boxes. Click on the ‘Printer’ Icon to preview the report or print when ready. To clear any changed print window settings, click on the Reset icon on the bottom right.
Opto Software Pty Ltd
Revised: 03/12/24