New Install – A desktop shortcut needs to be created before this procedure can be run.
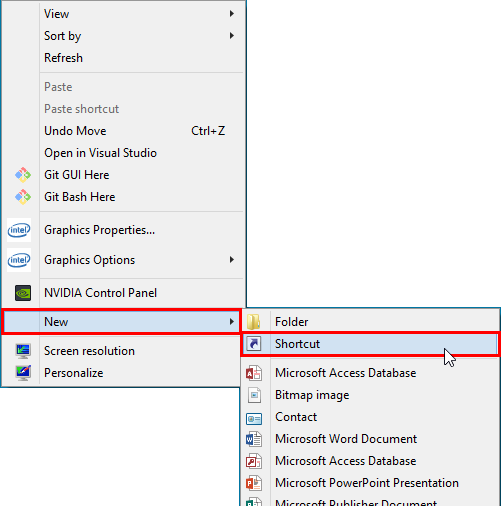
To create a shortcut – on your desktop, right-mouse-click and select ‘New’ from the list and then ‘Shortcut’ from the extended list.
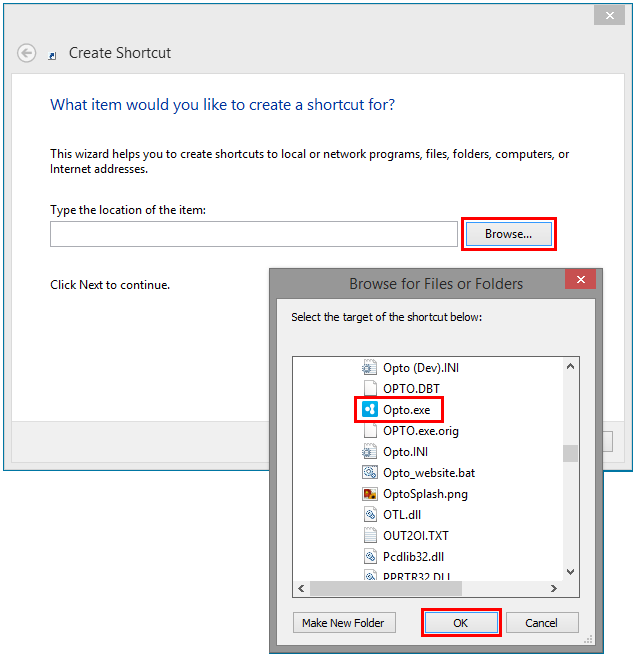
Click on the Browse button and navigate to Opto.exe, then click OK.
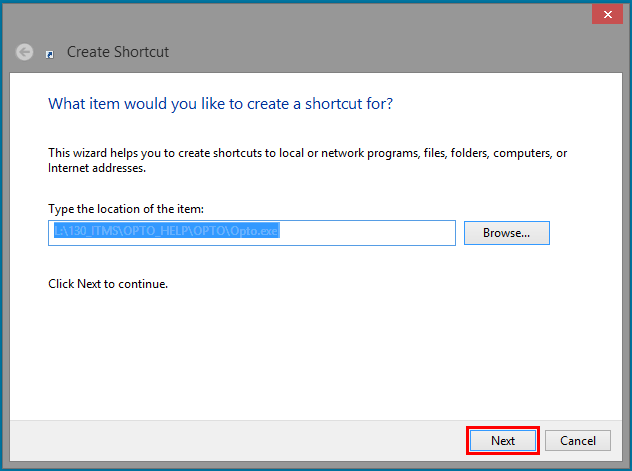
Click on the Next button.
Enter the name for the shortcut and then click on the Finish button.
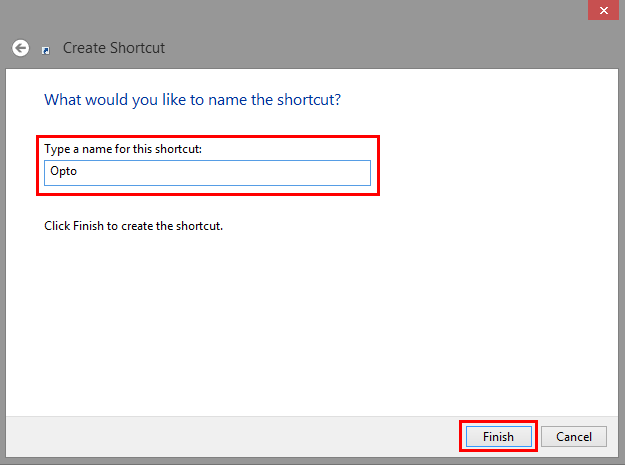
You now have a desktop shortcut to OPTO.

IMPORTANT NOTE: This procedure MUST be completed on every PC running OPTO and requires local administrator rights for successful installation.
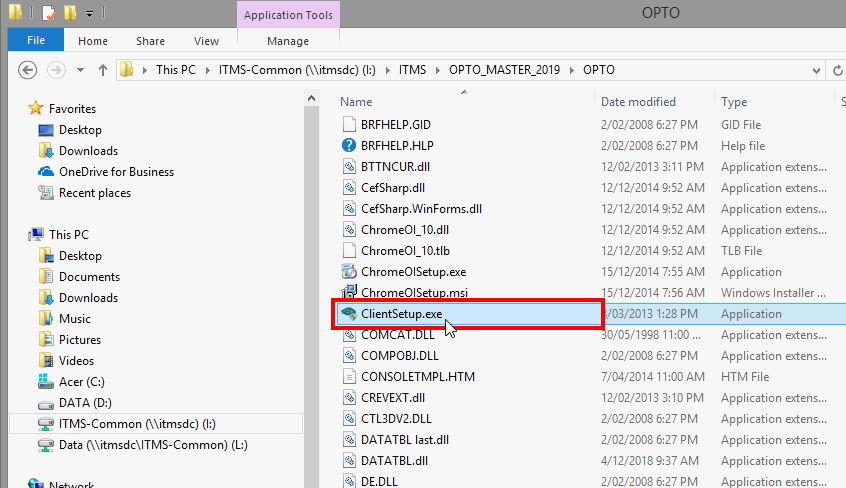
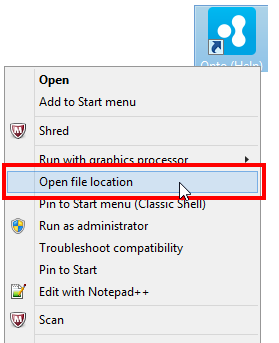
Step 1. Client Install Setup – OPTO MUST NOT be open/logged onto on the PC during this installation process. Go to where the OPTO icon on your desktop then right mouse button and select open file location. Scroll down until you find the ClientSetup.exe, dbl-click on it to commence the installation procedure.
Click on the Next button on the welcome window. On the ‘Licence Agreement’ window click on the box (circled below) to accept the terms and then click on the Next button.

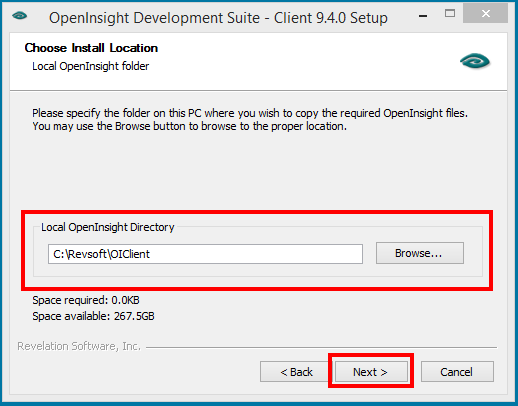
Choose Install Location – Click on the Browse button to locate the Revsoft folder on your system, dbl-click on the Revsoft folder to open. Click on the ‘OIClient’ folder to highlight and then click on the OK button and then click on the Next button. Please note: The drive location in the picture below is for illustration purposes only, the Revsoft folder may be located on a different letter drive on your system.
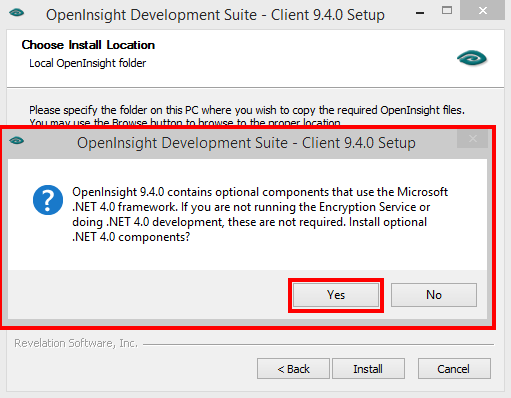
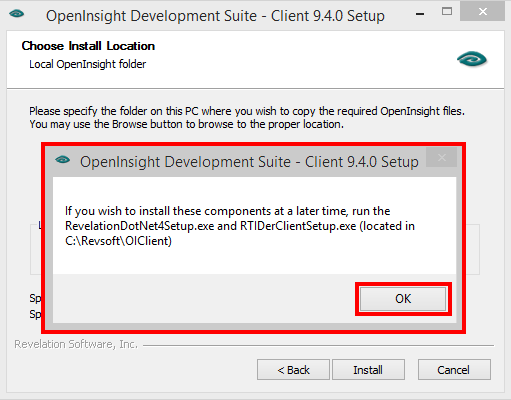
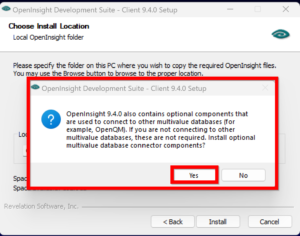
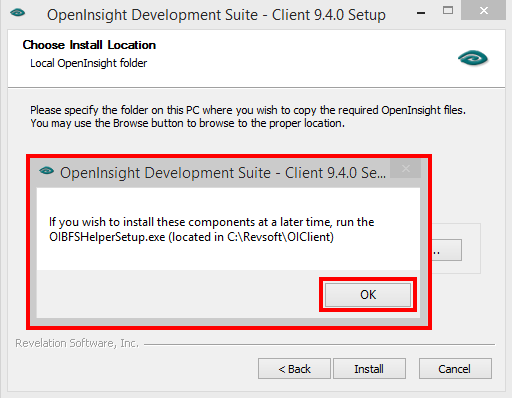
Several popup messages appear during the installation, follow the steps shown below.
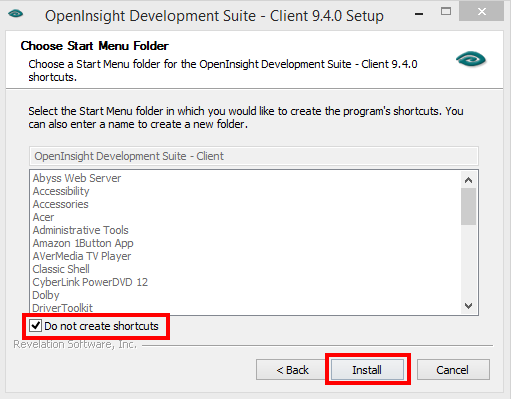
Choose Start Menu Folder – This is automatically chosen by the Install process. Click on the Install button. Ensure that the “Do not create shortcuts” box is ticked.
Final Installation begins.
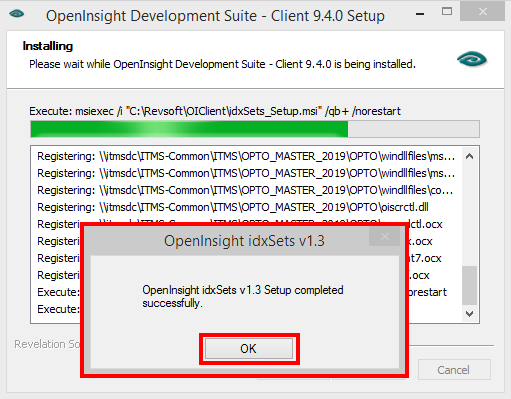
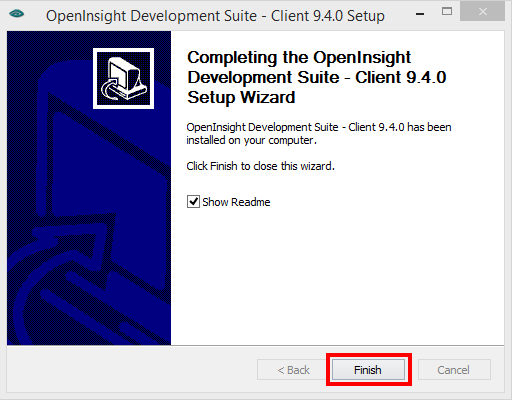
Several pop-up messages may appear, click on OK to all, ensuring they advise that the ‘Setup completed successfully’. If any of the messages say the Setup failed, then contact your IT Administrator as you may not have the correct permissions to run this procedure. Click on the Finish button of the Completing Setup window.
Step 2. Register SRP files – Right-click on the OPTO icon on the Desktop of the PC and select “Open File Location”.
Search ‘SRP’ to find the SRPControls.ocx and SRPEditor.ocx files to be registered.

Select the files and copy to the C:\Revsoft\ folder on the local computer (shown below).

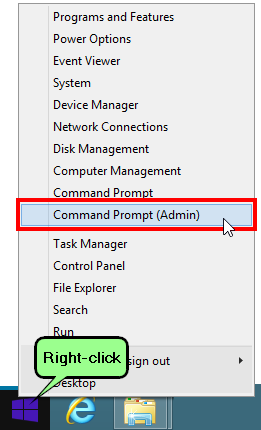
To register these *.ocx files, right-click on the Windows start icon shown below, and select ‘Command Prompt (Admin) from the list (as below)
If OPTO will be run from the local computer, ‘SRPControls.ocx’ must be registered on the local. To assist with future maintenance, also register ‘SRPEditor.ocx’; and, if available, register ‘SRPWebView.ocx’.
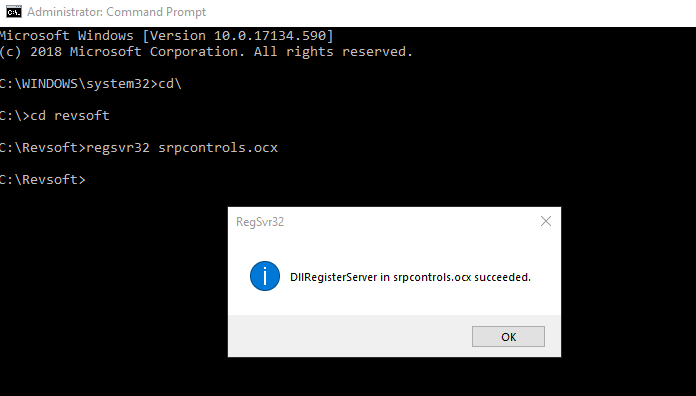
At the Command Prompt, from the root folder on C: drive:
C:\> cd \revsoft <enter>
C:\Revsoft> regsvr32 srpcontrols.ocx <enter>
C:\Revsoft> regsvr32 srpeditor.ocx <enter>
If successful, information boxes similar to the one shown below will pop up.
Opto Software Pty Ltd
Revised 13/03/2019